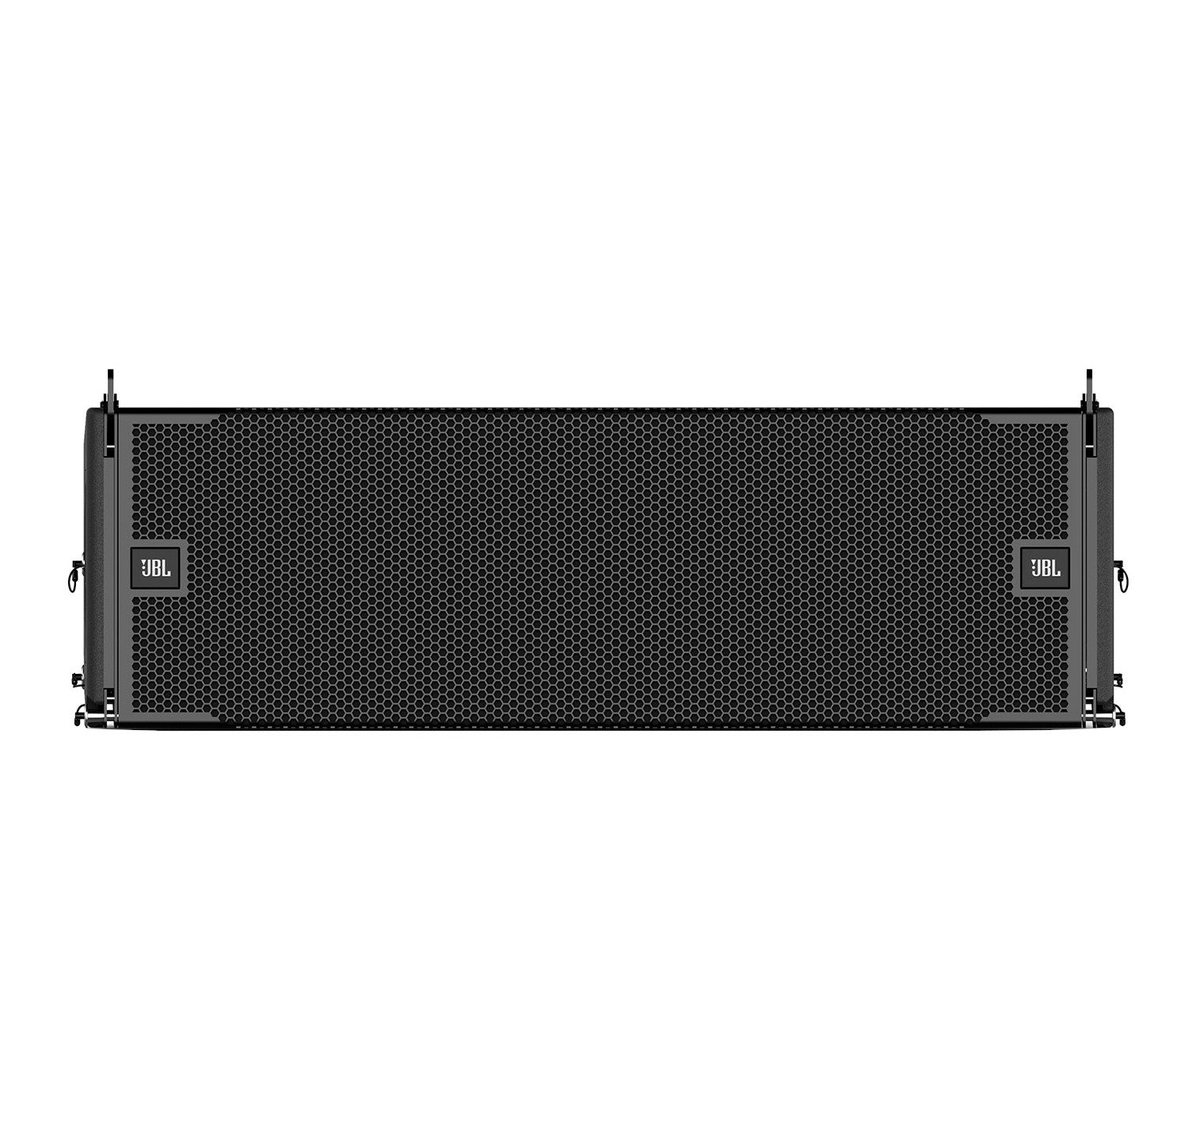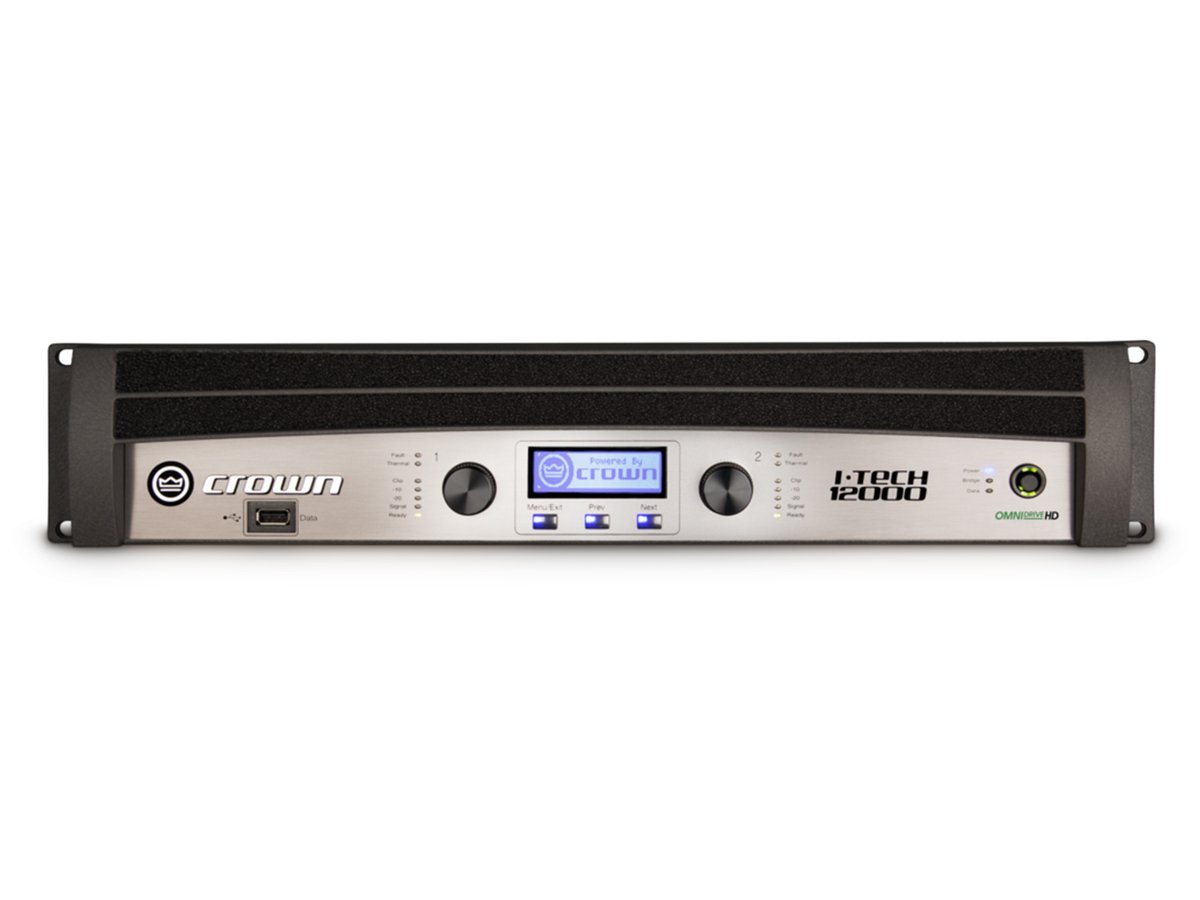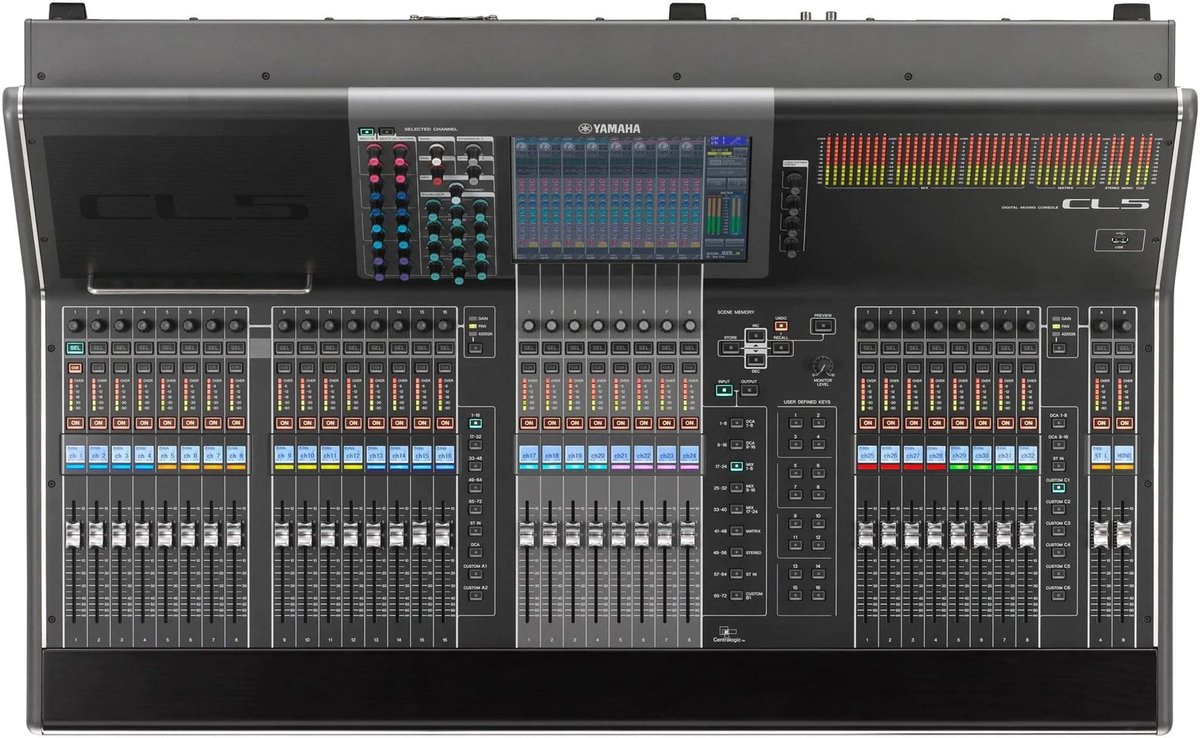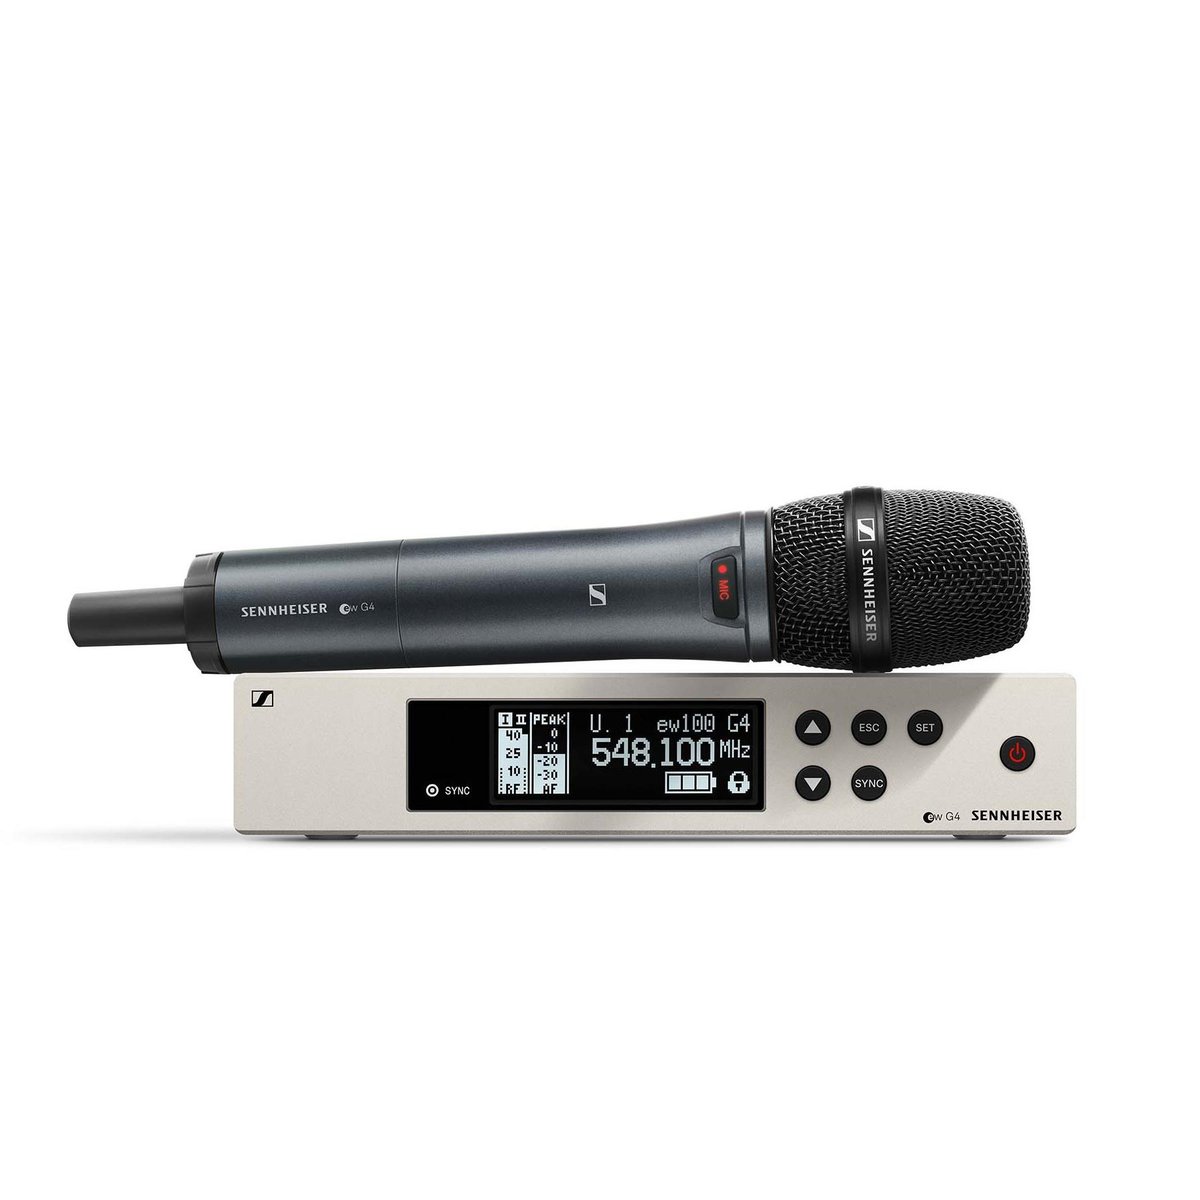
When sourcing pre-owned concert sound equipment for rental fleets, integration projects, or resale, the margin between a profitable deal and a costly mistake often comes down to a disciplined inspection routine. Unlike consumer gear, pro audio components are subjected to heavy duty cycles, unpredictable power, and frequent transport. A line array that looks pristine in photos may have blown drivers, a mixing console may have intermittent faders, and an amplifier may have been run at 2-ohm loads for years. This checklist is built for B2B buyers who need to assess lots quickly and consistently, whether you are purchasing a single console or a full touring system.
Start with a fixed ranking of critical spec categories, because not all defects are equal. First, verify power supply and amplifier modules: check for original transformers, burnt PCB traces, and service history. Second, inspect transducers (woofers, compression drivers, and horns) for recone evidence, voice coil rub, and diaphragm condition. Third, evaluate mechanical integrity: cabinet cracks, handles, rigging hardware, and connector wear. Fourth, test digital control surfaces, DSP modules, and firmware compatibility. Finally, confirm documentation: serial numbers, service records, and whether the unit is factory-original or modified. This order reflects cost of repair and impact on resale value—power and transducer issues are the most expensive to fix, while cosmetic flaws are negotiable.
What to inspect in person or via a detailed video call: power up each unit and let it idle for at least 15 minutes to catch thermal faults. Run pink noise through every driver at moderate level and listen for distortion, rattles, or dead elements. For consoles, exercise every fader, encoder, and button; check for scratchy pots and stuck mute groups. For amplifiers, measure DC offset on outputs and verify fan operation under load. Inspect XLR and speakON connectors for bent pins and corrosion. On line arrays, check rigging pins, fly bars, and safety ratings—never accept a cabinet with undocumented rigging repairs. Ask for high-resolution photos of serial labels and any service stickers, and request a short video of the unit passing signal.
Your next step is to formalize the inspection into a purchase protocol. Request a written condition report with photos for each lot, and negotiate a short warranty or return window for functional defects. For cross-border purchases in the CIS, Middle East, South America, or Africa, confirm voltage configuration (100–120V vs. 220–240V) and whether the unit includes the correct power cables and plug types. Verify that firmware and software licenses are transferable where applicable. Finally, calculate total landed cost including shipping, customs, and potential recapping or re-coning—then compare against the cost of a new unit with warranty. A disciplined checklist turns a risky used purchase into a predictable asset.